 Why Seamless Countertops Have Become the Industry Standard
Modern kitchen expectations have evolved significantly. Clients — whether in luxury residential projects or premium commercial spaces — now demand countertop surfaces that appear as one continuous, uninterrupted plane. No visible joints. No inconsistent patterns. Just clean, flowing lines that enhance the entire environment.
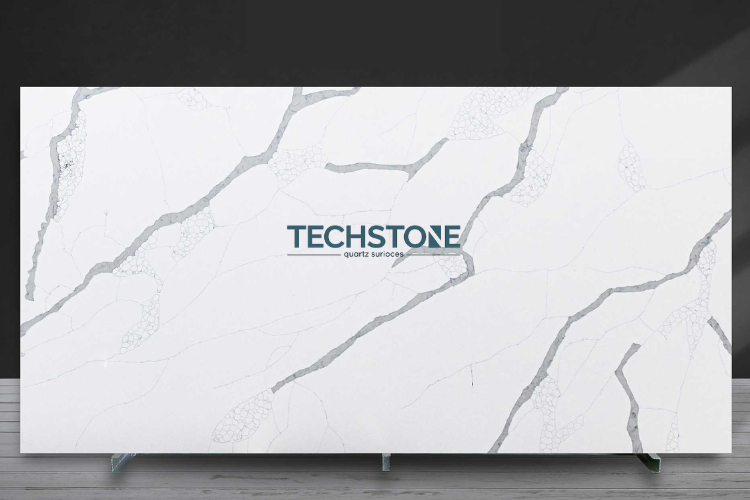
This shift is exactly why jumbo quartz slab seamless countertops are now the preferred solution for professional fabricators and contractors. Standard slabs often require multiple sections across wider layouts, leading to joints that impact both aesthetics and hygiene. Jumbo-format slabs — generally around 3200 x 1600 mm or larger — completely transform this approach.
However, working with large-format materials requires equally precise execution. A successful installation depends on a structured, step-by-step process, the right tools, and a clear understanding of how quartz behaves compared to natural stone. This guide covers every stage — from site inspection to final finishing — following professional best practices.
What Makes Quartz Different to Install?
Quartz is an engineered surface composed of approximately 90–93% natural quartz combined with polymer resins and pigments. This composition results in two key installation characteristics.
First, it is entirely non-porous. Unlike granite or marble, quartz does not absorb adhesives unevenly or react to moisture in the substrate. This makes bonding behavior more consistent — but also means that proper surface preparation and adhesive selection are essential.
Second, quartz is dimensionally stable but not completely rigid. Jumbo slabs carry significant weight, and any uneven support or gaps in the base can transfer stress into the material over time, potentially leading to micro-cracks near seams. While marble requires sealing and granite can visually mask minor imperfections, quartz does not — it demands precision in flatness and support.
Tools and Materials Required
Before fabrication begins, ensure all tools and materials are available on-site:
Cutting and Fabrication
- Diamond-tipped circular saw or bridge saw — wet bridge saws are preferred for clean, straight cuts
- CNC router (for edge profiling) — ensures consistency across multiple pieces
- Diamond polishing pads (50–3000 grit) — to achieve a factory-like finish
Measurement and Leveling
- Digital templating system or MDF templates
- Laser level and spirit level
- Feeler gauges for checking surface uniformity
Adhesive and Seaming
- Two-part epoxy adhesive (color-matched)
- Seam setters and suction cups
- Color-matched polyester resin (for seams only)
Safety
- Wet/dry vacuum for silica dust control
- Face shield, gloves, and hearing protection
Step-by-Step Quartz Countertop Installation
Step 1: Site Inspection and Measurement
Templating is the most critical stage. Any error here affects all subsequent steps.
Conduct measurements only after cabinets are fully installed and walls are finished. Capture exact dimensions, including wall variations and appliance cutouts. Avoid assuming perfect angles.
Step 2: Surface Preparation
Ensure a flat, continuous support surface. Any deviation beyond 3mm must be corrected before installation.
Cabinets should be structurally secure and wall-anchored, especially considering the weight of jumbo slabs.
Step 3: Slab Selection and Layout Planning
Plan slab layout carefully, especially for veined designs. Ensure pattern continuity and avoid placing seams in visually prominent areas.
Step 4: Cutting and Fabrication
Use a wet bridge saw for precise cuts and dust control. Complete edge profiling before installation using CNC routing where possible.
Step 5: Dry Fitting
Position all pieces without adhesive to confirm fit, alignment, and spacing. Make adjustments at this stage.
Step 6: Adhesive Application and Placement
Apply epoxy adhesive in controlled bead patterns. Lower slabs carefully using suction tools — avoid sliding them into position.
Step 7: Seam Joining
Apply color-matched resin to seam edges and align using clamps. Clean excess immediately for a near-invisible finish.
Step 8: Finishing and Quality Checks
After curing, inspect seams under angled lighting, polish if required, and verify all dimensions and fittings.
Common Installation Mistakes and Their Impact
- Poor templating leads to alignment issues and costly corrections
- Incorrect adhesive (like silicone) results in long-term instability
- Uneven support causes stress cracks over time
- Mismatched seam resin affects final appearance
Why Jumbo Quartz Slabs Are a Game-Changer
Large-format slabs are more than a design trend — they represent a technical advancement. With sizes around 3200 x 1600 mm, many kitchens can be completed with minimal or no seams.
This reduces installation time, improves aesthetics, and meets the growing demand for seamless surfaces in premium projects.
B2B Perspective: Choosing the Right Quartz Supplier
- Ensure dimensional accuracy of slabs
- Verify batch consistency for large projects
- Check logistics and handling capabilities
- Prefer suppliers with technical support expertise
Conclusion
Professional quartz countertop installation is a precision-driven process. Success depends on accurate templating, proper support, strategic slab planning, and expert seam finishing.
As seamless surfaces become the standard expectation, fabricators who master jumbo quartz installation will stay ahead in both quality and market demand.